Learn workshop organization ideas to transform your cluttered workshop into an efficient, well-organized space with simple yet effective storage solutions.
12 Workshop Organization Ideas (For Clutter-Free Space)
• 6 min read

Imagine a workshop, right in the comfort of your home, where you can find every tool, board, and jig without looking around. Assembling parts, machining lumber, sanding, or finishing… everything will always be found within reach!
But who owns this awesome shop, man? You will, but only if you’re ready to drop sloppy housekeeping and bad habits of never throwing away anything, nor putting it back in place. We’ll show you how to do that and reorganize your shop to focus entirely on woodworking.
Start with Decluttering

The best starting point: decluttering. When there’s so much scattered around, it’s not easy (or actually, nearly impossible) to organize things and find a dedicated spot for each item. Yes, that also applies if you’ve got a big workshop. Unnecessary pieces create a hodgepodge, regardless of the size of the space.
So grab a few large garbage bags, plastic containers with lids, and a permanent marker. Inside the shop, empty out all trash cans. Throw away pieces of wood less than 1” long and get rid of anything that’s broken beyond repair. Toss empty containers to be recycled.
If you find things that seem usable, but just not something you would need, sell them to a thrift store, or donate them to places dedicated to teaching skills to the unemployed. Organization and euphoria, together 😉
Talking about the tools, for example, you could divide them into three categories…
- Items too valuable to be thrown away, but not worth the hassle of a classified ad. Send them to charity (or sell them in a garage sale).
- Tools worth $50 or more. Sell them through a newspaper ad or an online market (like craigslist.org).
- Items that cannot be used in any form. Recycle them, if possible, otherwise, throw them away.
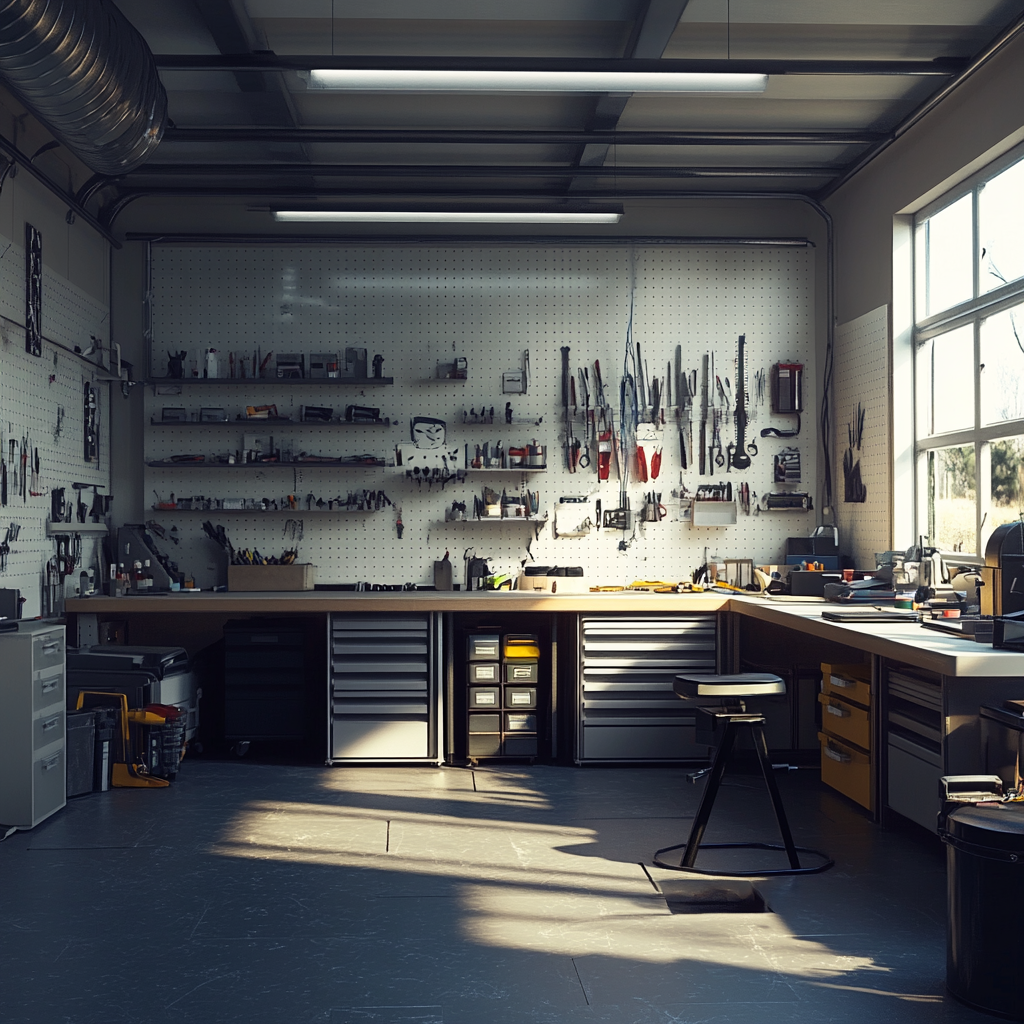
Install Pegboards
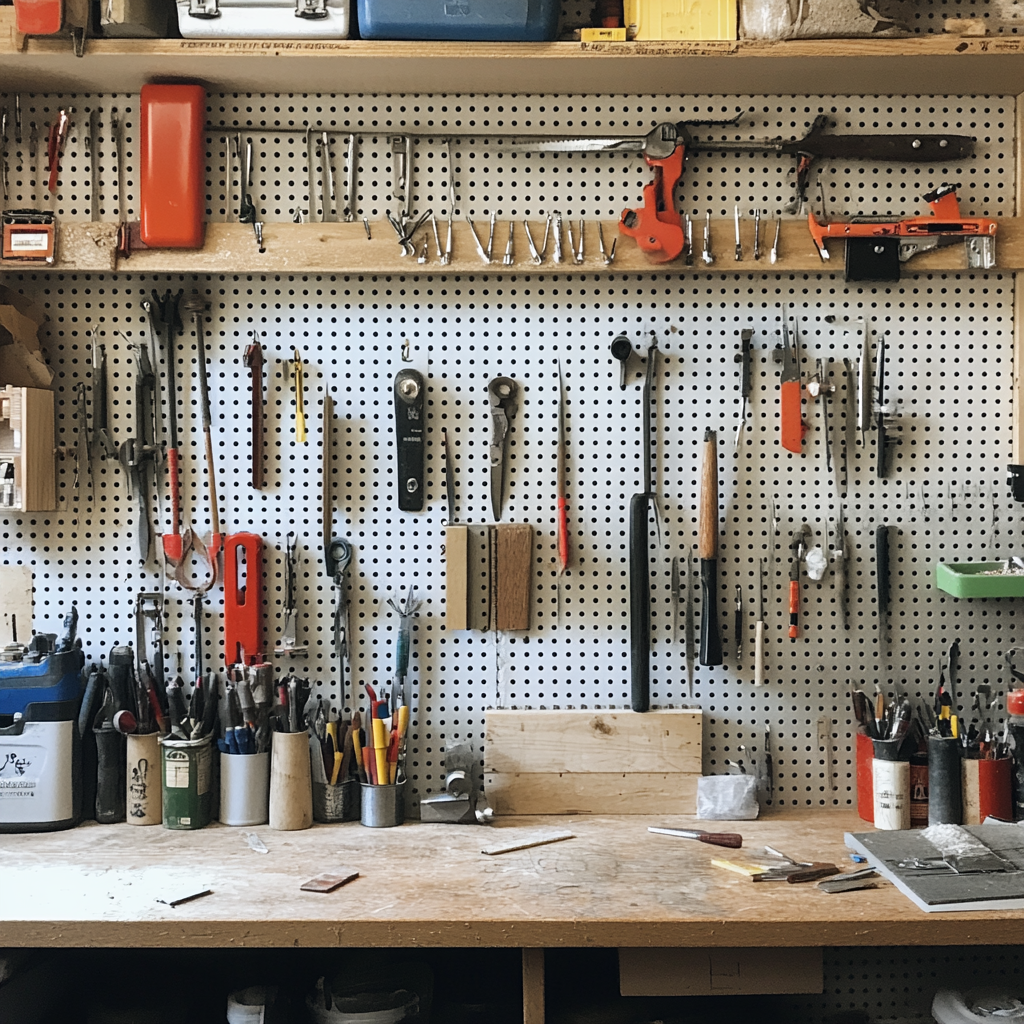
Got exposed studs in your workshop? Great, install pegboard. You can also mount it over furring strips; a simple addition that goes a long way. It adds to the aesthetics, and, of course, enhances storage. Install hooks to the holes and use the additional space created to hang tools, safety glasses, tape measures, and even mini baskets to hold small items like nails.
Add Shelves
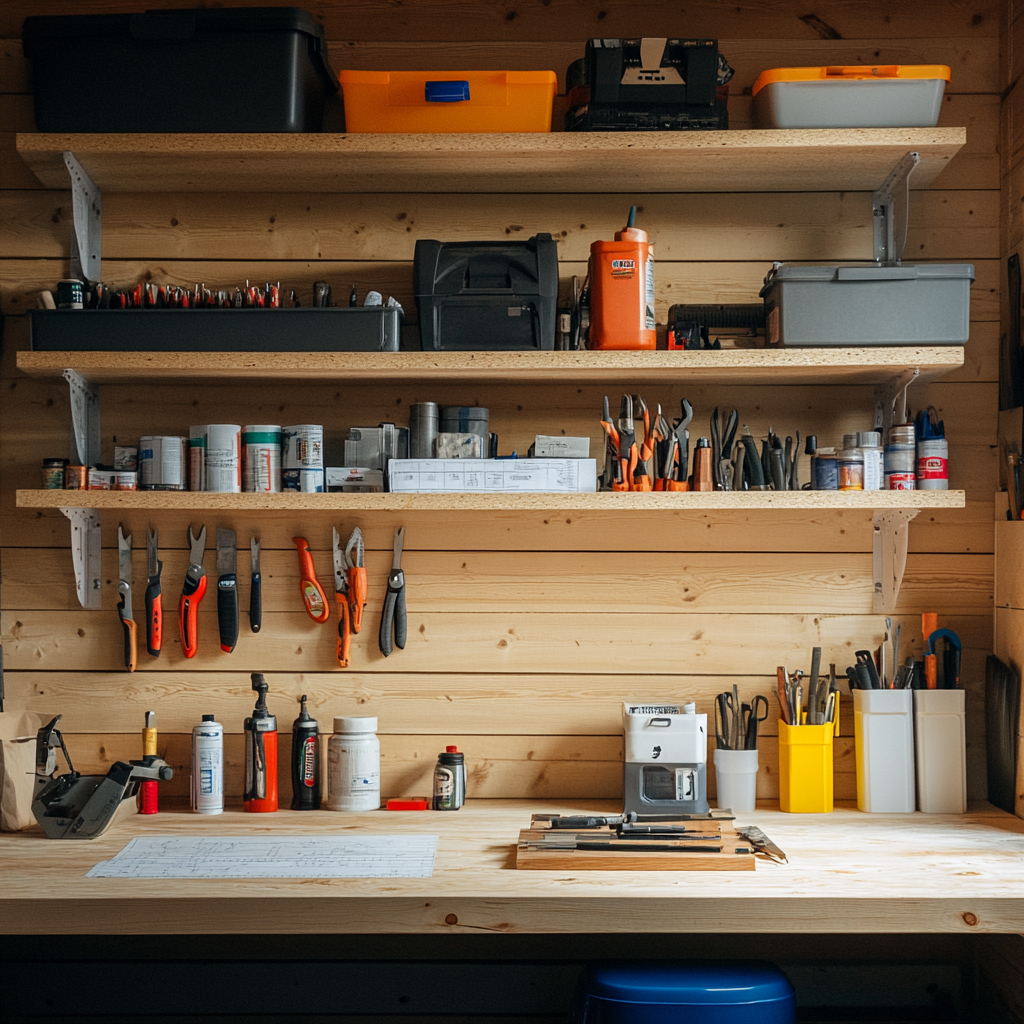
Utilize wall space, wherever, however possible—perhaps one of the most foolproof workshop organization ideas. Build your own shelves with lumber, or simply mount square storage cubes on the wall. For those tight on budget, mount milk crates on top of each other. DIY-ing rain gutters is a fun project, too. Cut them up and install them over the wall to store smaller things, like spray paint cans.
Organize Cords
Roll up the cords and add them to empty tissue roll tubes. Write descriptions outside each tube and place all of them together in a box. You will never have to fight tangled cords or play a guessing game of what belongs where.
Use an Inventory Tracker App
No matter how organized your workshop may be, it’s a room with hundreds of essentials, from small items like dill bits, to bigger ones like power tools, so it’s natural to forget what was put where. The solution? An inventory tracker app Itemlist. It’s a tool that helps itemize everything in an application. Can’t recall where the screws are? Search it on the app. Forgot where you put the lumber sheets? Ask the app. It’s as simple as a 2-second click.
Apart from the obvious (finding things with a quick search), expect to enjoy features like…
- Custom organization
- Barcode scanner
- Offline access
- Location sharing
- CSV export
- Cloud storage
It is, by far, one of the smartest workshop organization ideas!
Store Supplies Logically
Try storing things based on how often you use them. The more frequently the item is used, the closer it should be to the workstation where you spend most of your time. This may sound obvious, but it’s not the easiest to execute practically. It can be tough to convince yourself that it’s OK to have two areas for measuring tools, for example.
Group all supplies by usage frequency, and put them in labeled containers (stacking plastic bins, small component drawers, etc.). And if you’re someone who works on big projects quite often, you probably also have a collection of big, expensive tools. Use a rolling tool chest to store such supplies. They hold much more than shelves or pegboards, and offer extra working space, while keeping everything super accessible.
Allow Your Furniture to Multi-Task
An electronics bench, for example, can double as a jewelry bench (if that’s the type of work you do). It could also be used as a woodworking or metalworking bench. Basically, we’re grouping together activities that have something in common—messiness, in this case, is the similarity for each task. Bonus points if the bench has a mini sliding tray to catch bits that you need along the project. You see, one furniture piece can offer multiple purposes. Saves space yet maximizes functionality.
Look Up for Scrap Storage
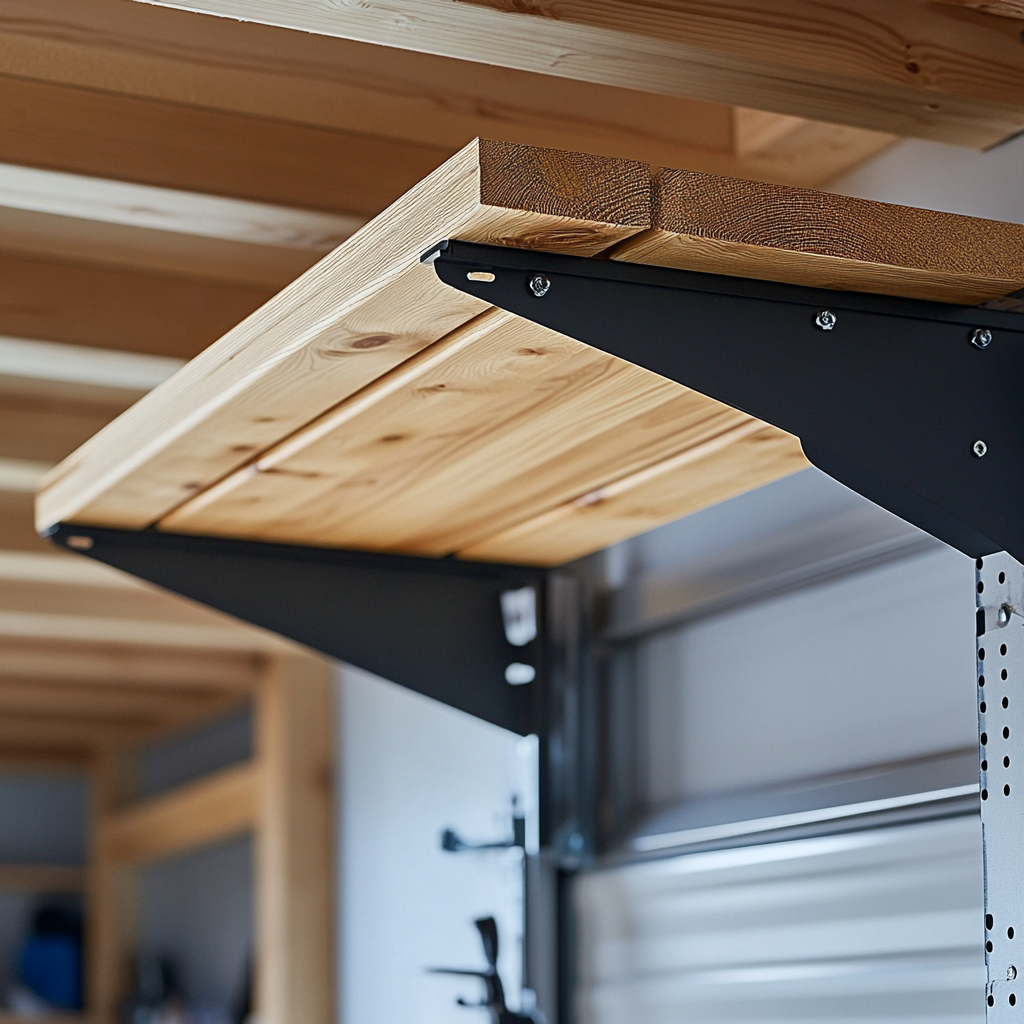
Those leftover pieces of wood take up too much floor space. You need them, so you can’t throw them out. But where do you store them for the next couple of weeks? Look up. There’s wall space high up, near the ceiling; area that’s inaccessible for daily use items, but too precious to waste in a workshop where you’re already tight on space. We’d recommend installing shelving brackets in those areas. They hold the scrapes until you need them again without occupying square footage. A win-win situation 😎
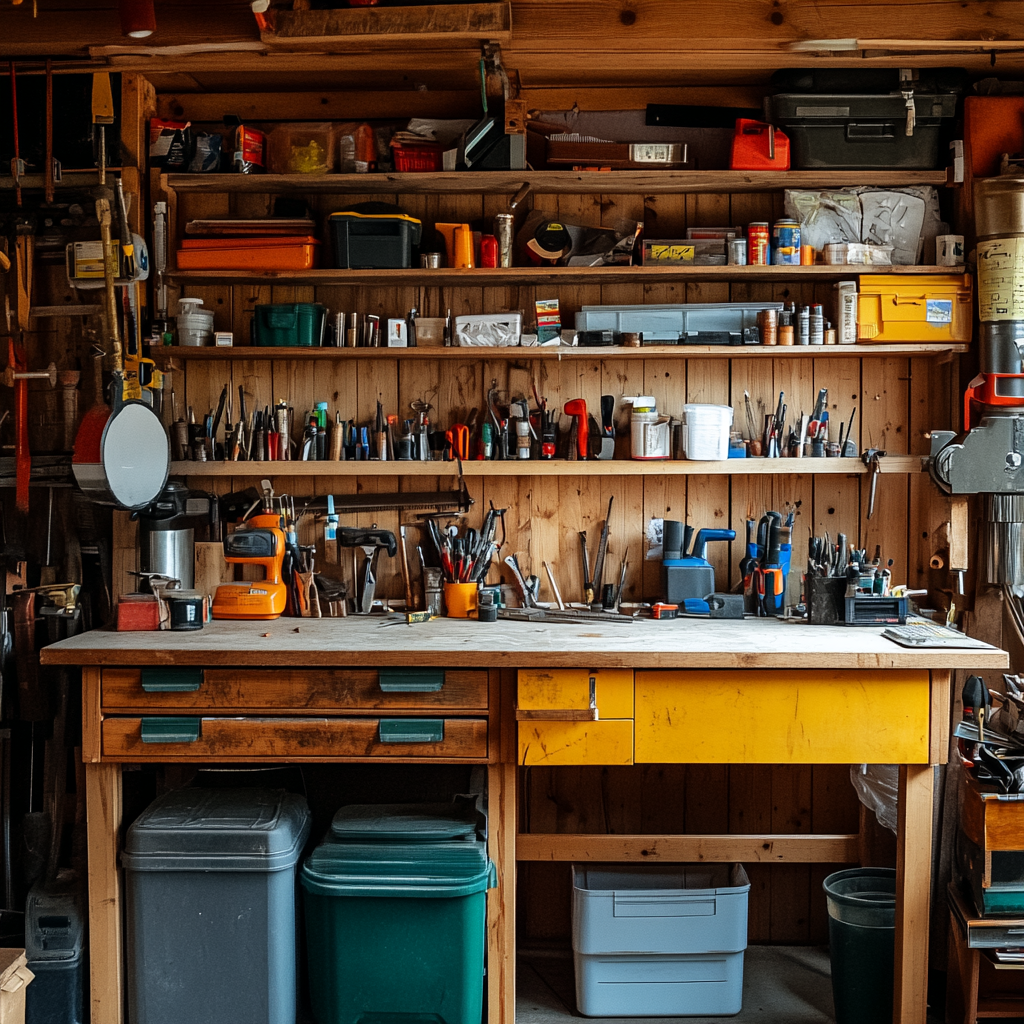
Go Low

Another underutilized area is under the workbench. Use this empty space to hold unfinished projects, blueprints, clamps, PVC tubing, or basically anything that doesn’t seem to fit elsewhere.
Label Everything
For things that are on display, like stored over the floating shelves, you can find them easily. But for items that are placed in drawers or bins, you would want to have labels to make sure you don’t end up searching every corner just to find that particular tool in the last drawer/bin you look into.
Repurpose Essentials
The answer to “how to organize workshop” can quickly become expensive. Fancy storage tools, expensive shelving, multipurpose furniture ideas… the list goes on. But you need to remember, good storage doesn’t necessarily translate into expensive storage. The best storage is one that’s creative; one that maximizes space and meets your needs, which means, it could also be something as simple as repurposing essentials around the home, like…
- A filing cabinet for metal storage
- Ice cube trays for screws, nails, etc.
- Old ladder as shelving
- Bookshelf for tool storage
Tone Down the Colors
Not exactly a workshop organization idea, but a tip that makes the space feel open. Dark colors add to the cramped feel of an already small workshop. Lighter colors, on the other hand, reflect maximum light. Whites, creams, beiges, are best for small rooms like workshops; you’ll notice how such hues make the room instantly feel so much airier.
Final Words
Workshop organization ideas might not seem the most important. We tend to prioritize free time on completing a project instead of spending an entire weekend organizing the space. But we forget all the extra hours we could save by investing 2 days in decluttering and sorting things out in an otherwise messy, cramped workspace.
Don’t think twice—and get started today!